Choosing the Right Container
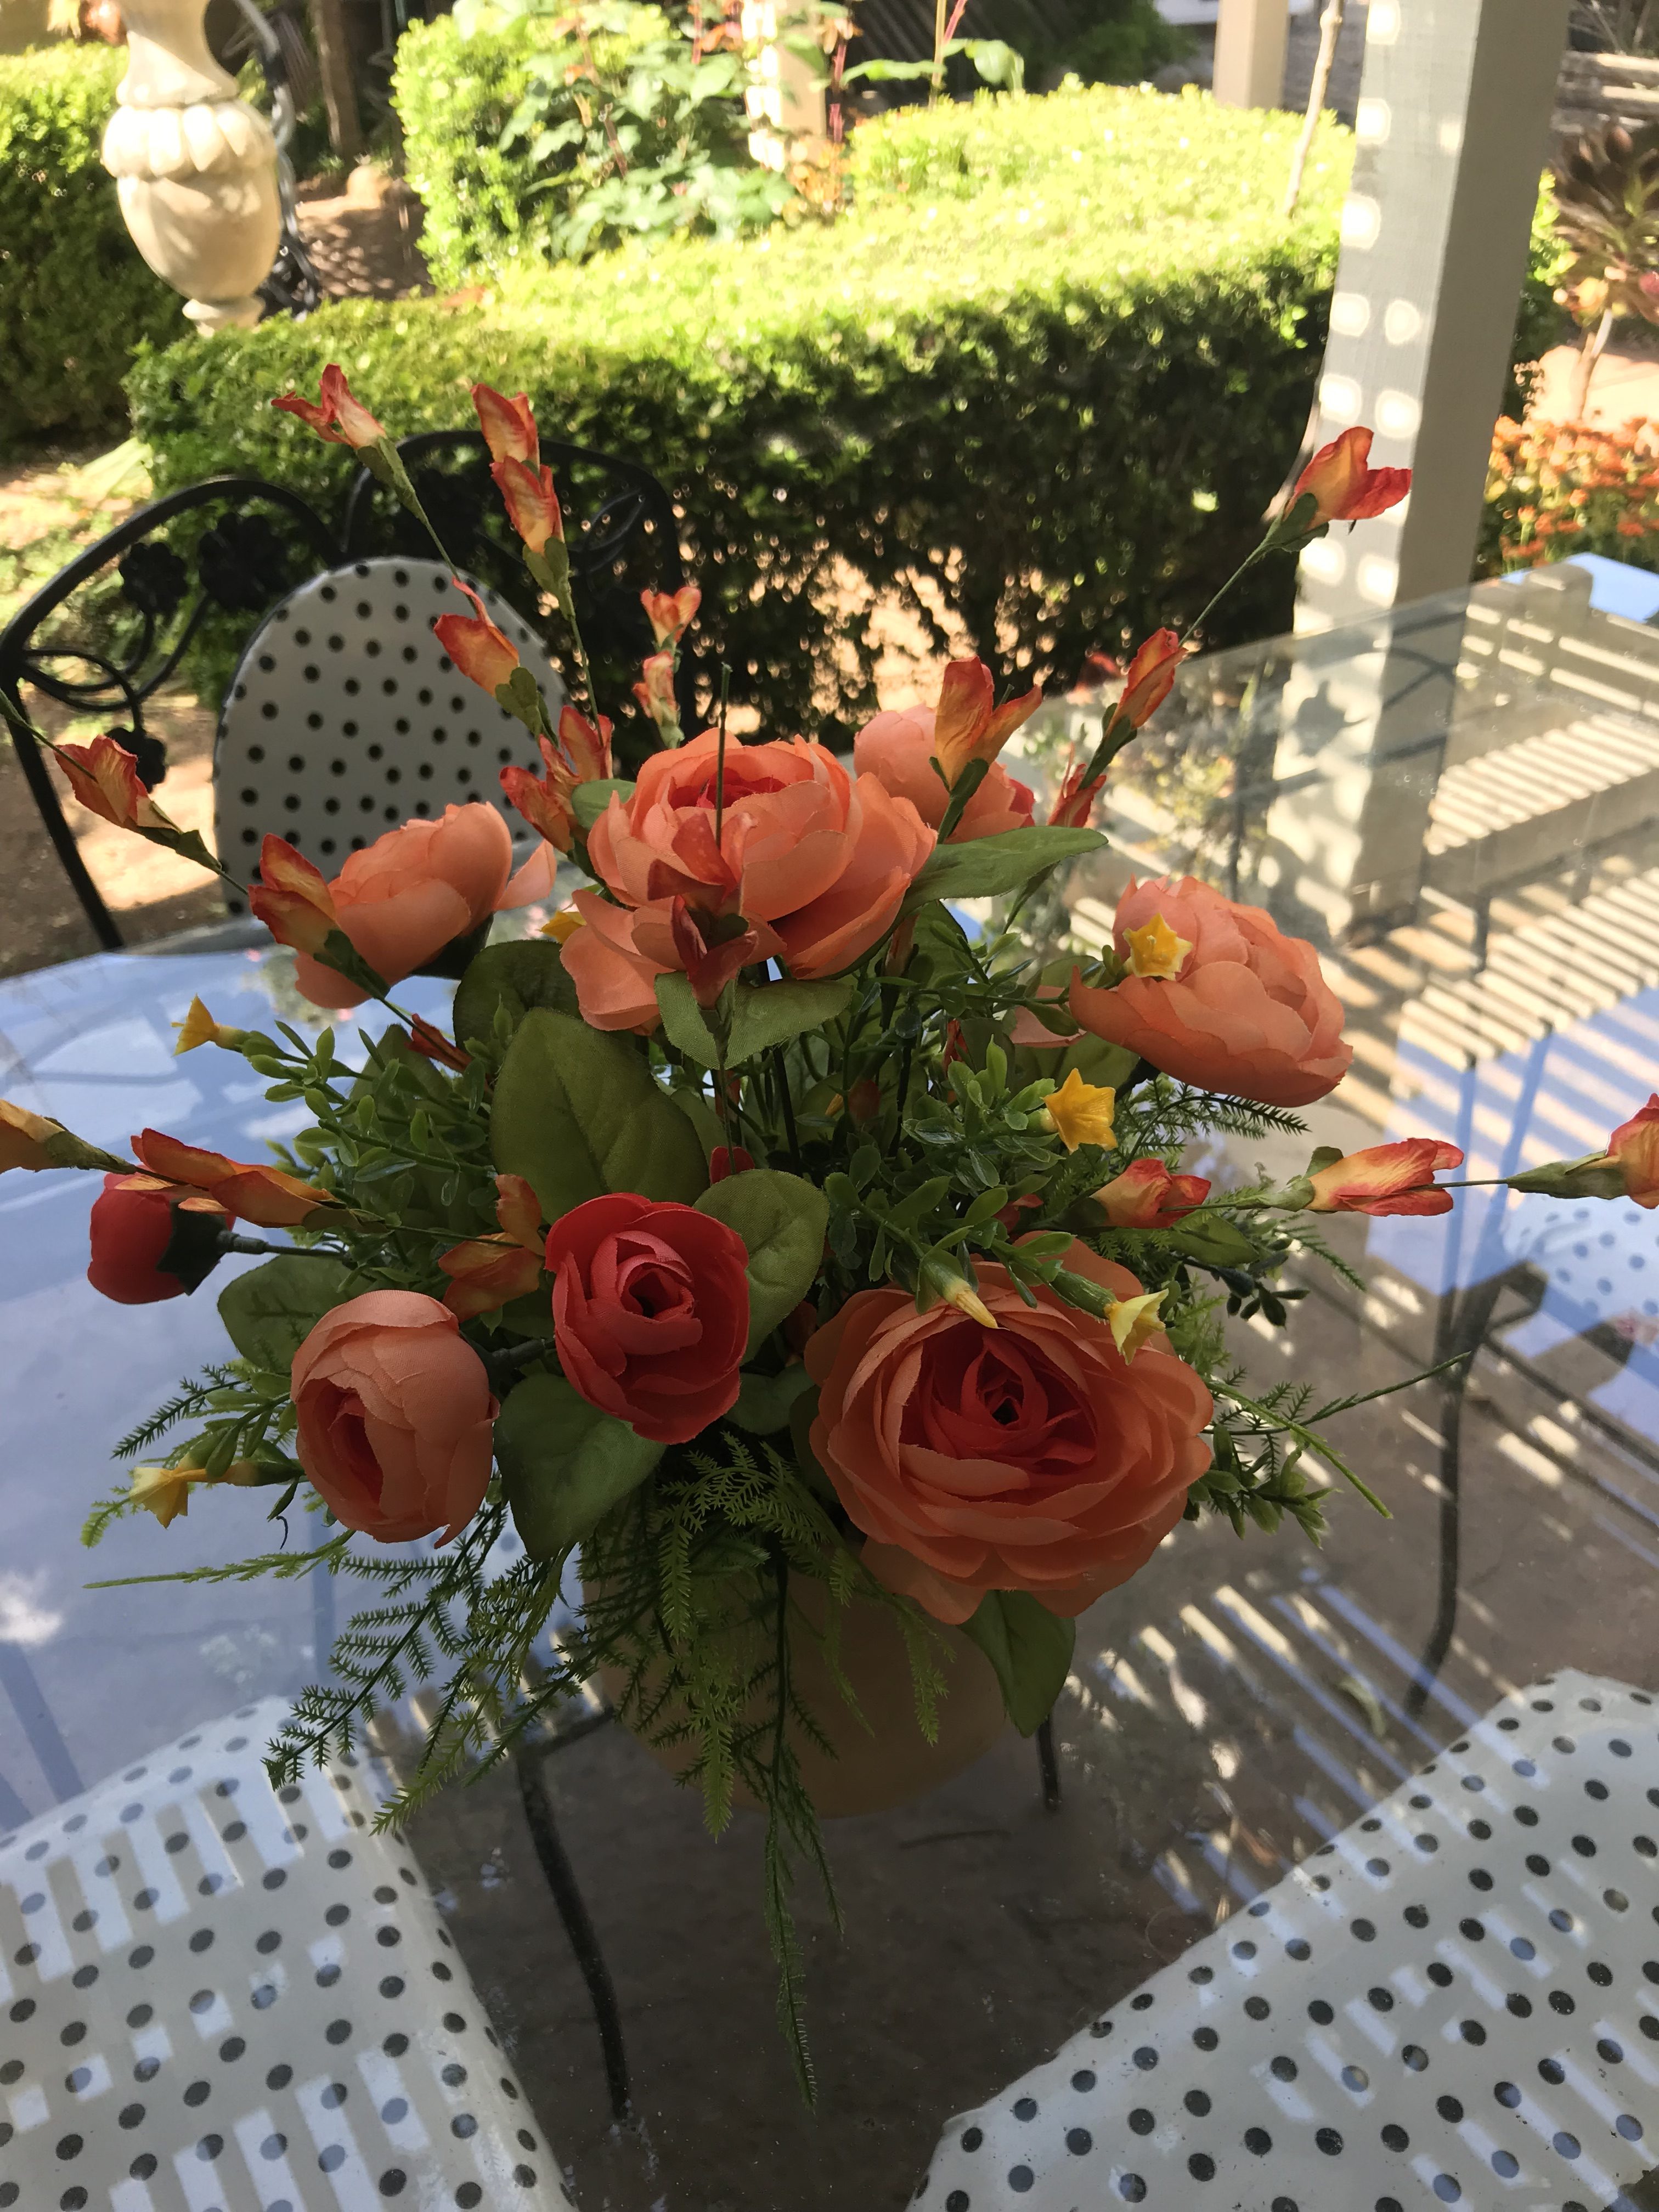
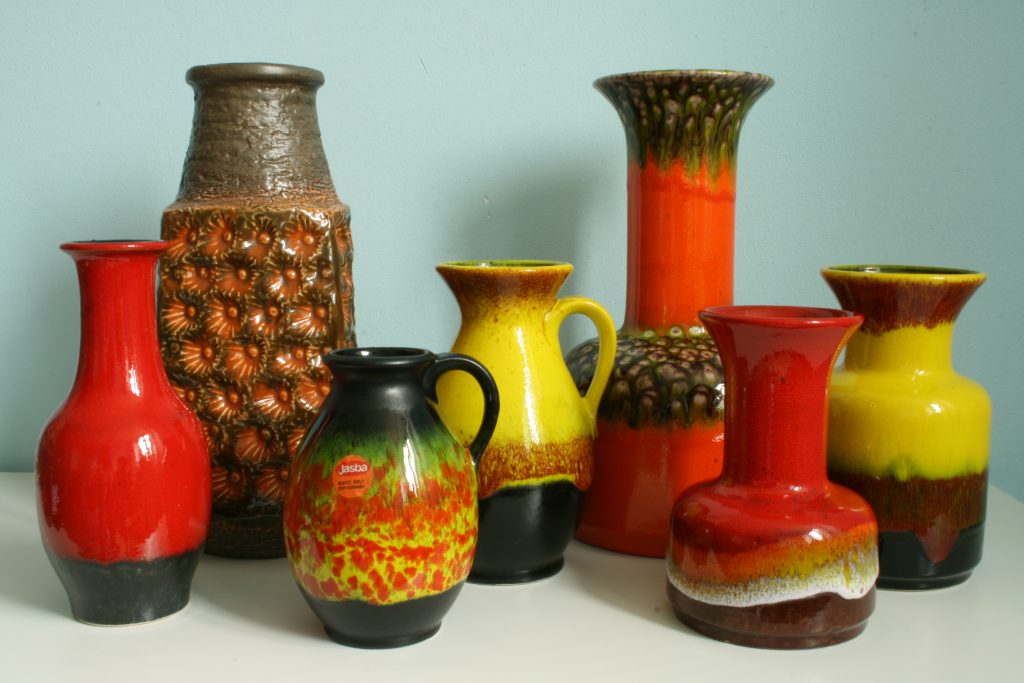
“If you can’t get the dust off, time for a new tablescape!”
Alright!! You have made the decision that you need a new centerpiece for your table. It was a tough call, but in the end that bowl of potpourri with rubber bands and candy wrappers mixed in just wasn’t cutting it anymore! Now the question is, “What do you want?” And the answer is, “You have no idea!” I am here to help you.
First off, where is this centerpiece going? For the sake of this blog, let’s say the dining room table. Is this going to be a seasonal arrangement?
(…) Christmas? Easter? Halloween? Spring? Fall? Winter? Summer?? or even all year round? The later being the hardest category. Keep this in mind during this blog and choosing your container. One centerpiece can’t solve all your decorating problems but it is a good start! Let’s say you chose “All Year Around.” Okay let’s go!!
First question, “Do you eat in here often?”
(Be honest!!)
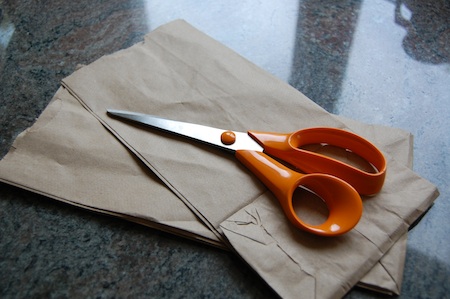
Go into your dining room; bring a measuring tape, pad of paper, pencil, paper grocery bag and scissors. We are going to decide the size of your centerpiece. First question, “Do you eat in here often?” (Be honest!!) Holidays don’t count. If the answer is “No.” Good! That means you can have some height and you don’t have to see the person across the table. If you answered “yes,” then your centerpiece can only be 12″ to 18″ high. You have a 6″ window depending on how tall the people are in your family. If you are going with a taller centerpiece that makes a bigger statement and you have a chandelier make sure you grab that measuring tape. Measure from the top of the table to the bottom of the chandelier, and then deduct 2″. That is as tall as your centerpiece can be. No matter what. They never touch… never ever! Bad design and a fire danger. Write that number down.
Length is tougher. On a oblong table, measure the length of the table and divide it in thirds. Come on!! You took geometry in high school!! Write that number down. This works on rectangle tables too. Round tables are tougher. If you are eating at this table you have less wiggle room. Grab your placemats and put them on the table. Take the paper grocery bag and cut a circle. Doesn’t have to be perfect. Put it in the middle. No placemats? Measure 18″ from the edge and make a circle. That is your number.
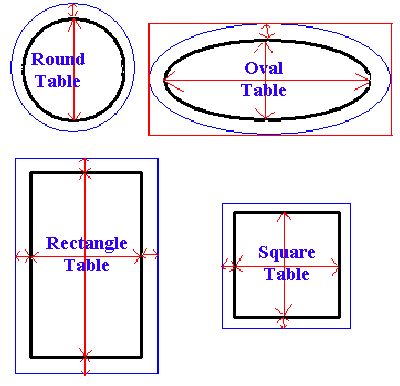
” You took geometry in high school!! Write that number down.
Width is a third of the table too. Write that number down too. Now, I want you to make a template on your paper bag and cut it out. First. you might have to cut the bag open flat to have a big enough surface to make a template. Put it in the middle of the table. Remember this is only a guide, a starting point. If you use a runner that too should be on the table. This is the total size of your centerpiece. Not the size of your container. You are now ready to go shopping Bring your template with you.
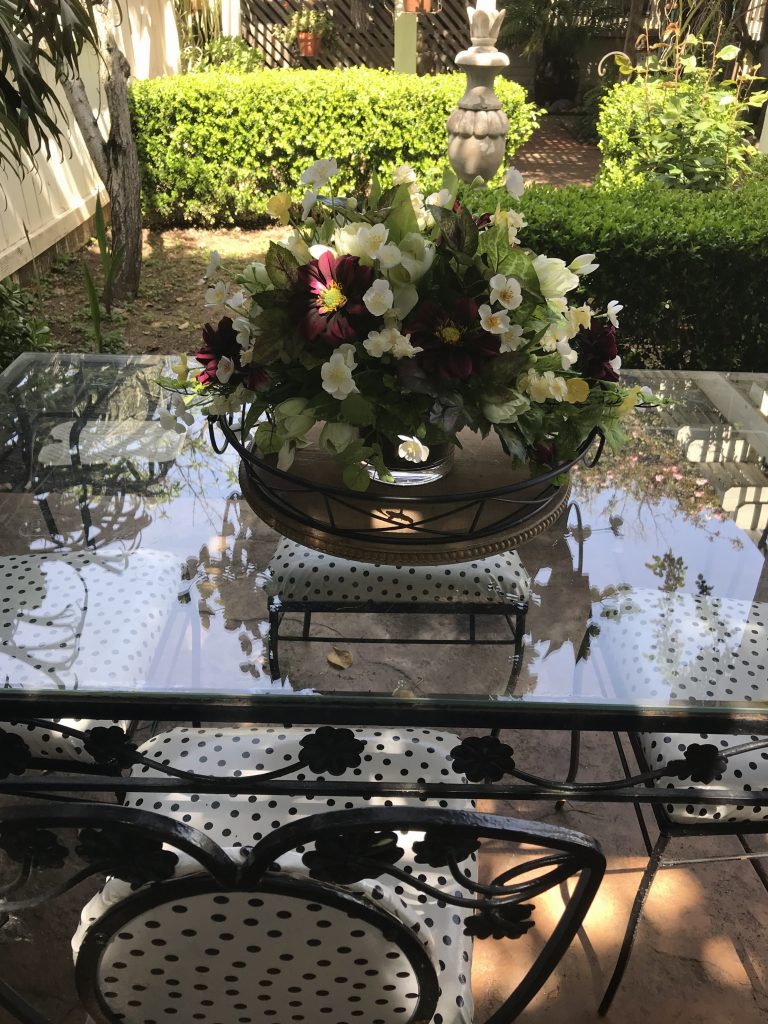
Flowers need to hang over the edge of the container. Sometimes a lot, sometimes a little. It makes your centerpiece cohesive. Keep that in mind when you are putting containers in the middle of your template. Leave room for flowers. Yes, you can use round containers on oblong tables by letting the flowers cascade lengthways on the table creating the illusion of length. Try multiple small containers to create a bigger look. Use your template as your guide. Square containers on round tables work great too. The nicest thing about silk flowers is that your container doesn’t have to hold water so many more choices. Think about baskets or pitchers or vintage silverplate urns or terrines! The only thing limiting you is your imagination.
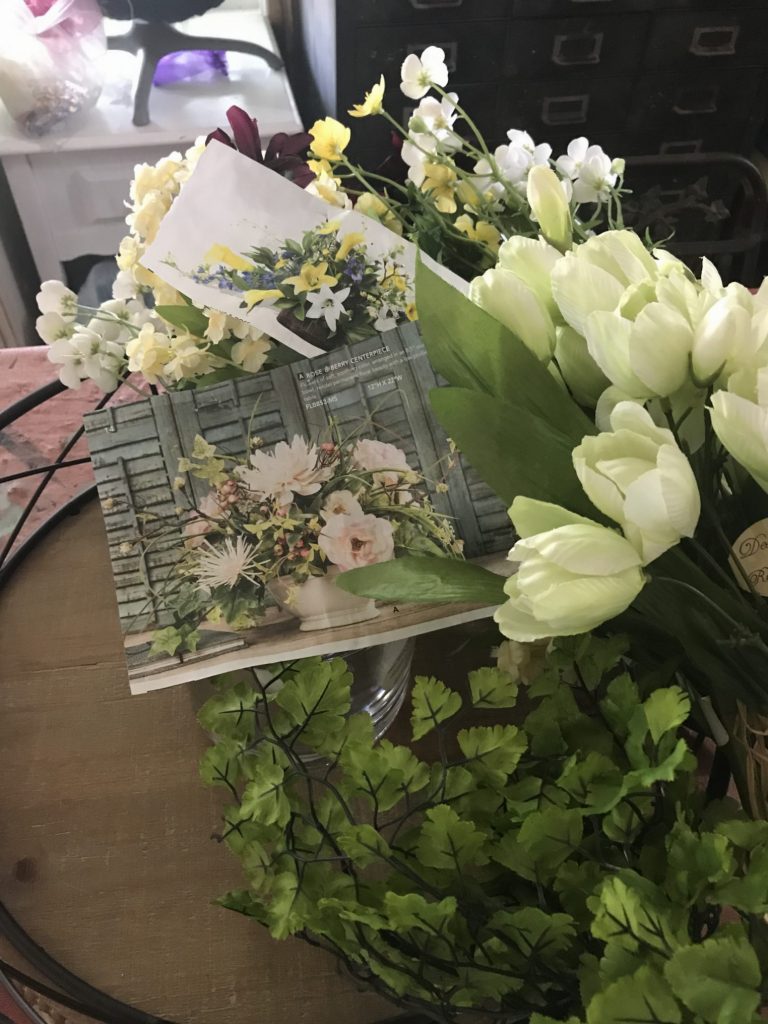
“One centerpiece can’t solve all your decorating problems but it is a good start!”
Final thoughts, remember to have fun and tell a story. Don’t let your centerpiece stay there too long. Accessorize your table too. When you dust, (As If!), dust your centerpiece with a feather duster. If you can’t get the dust off, time for a new tablescape.
Please ask me questions if you need help. I will do my best to answer them. Also, send me pictures of your containers, I would love to see your choices. If you need a lot of help or you want a custom centerpiece for your table, you can always reach me thru social media or my website. Next up: choosing flowers
Contact

❤️
Thank you